
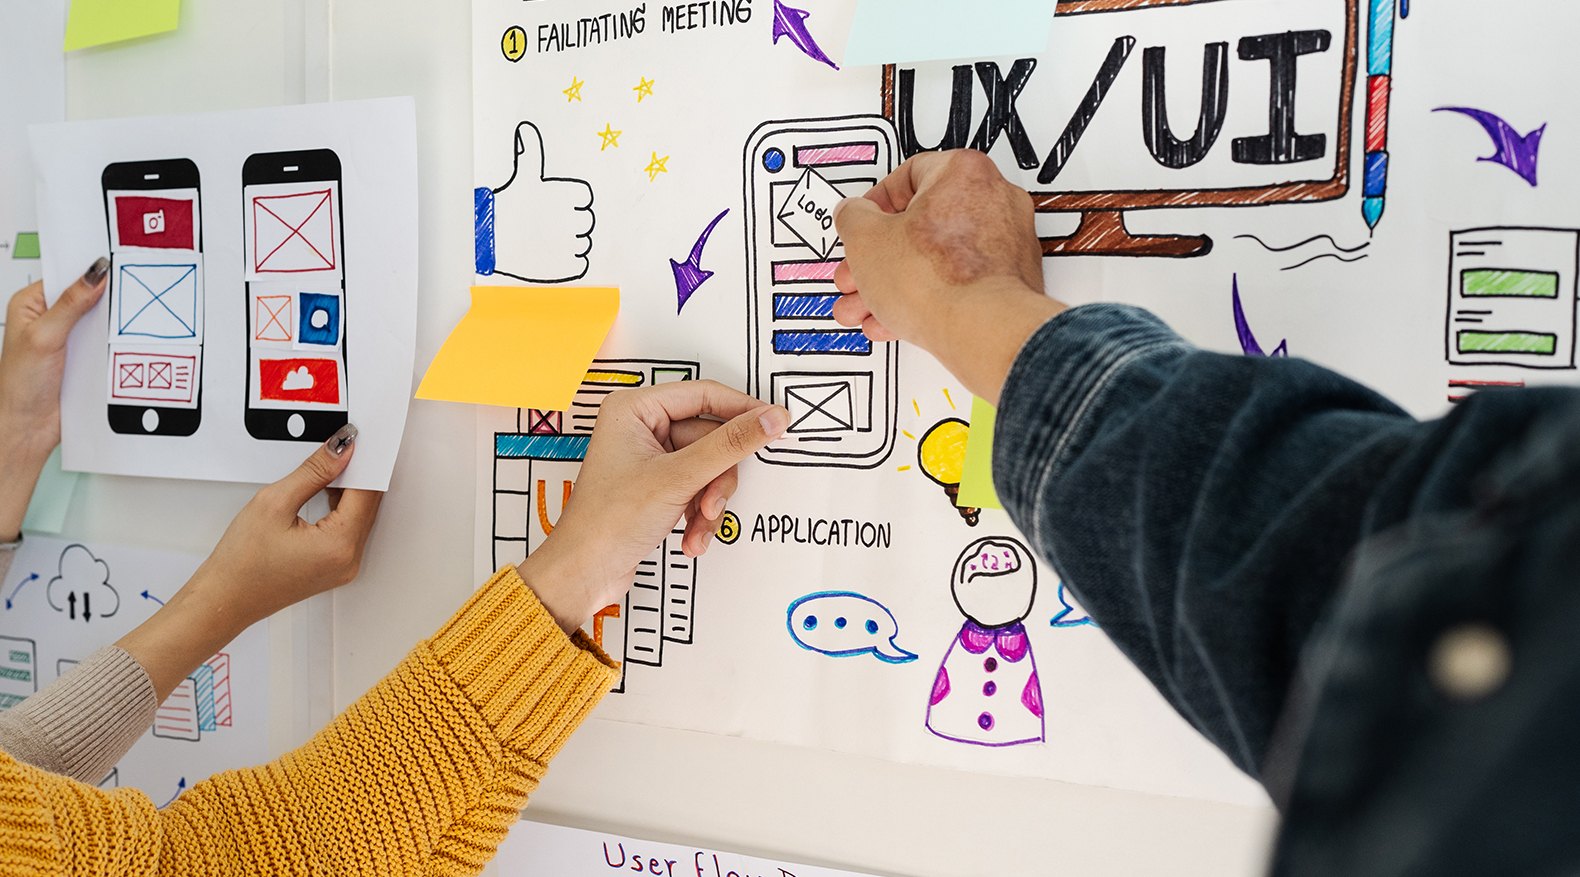
UX Design Process Deep Dive: From Research to Execution
User experience (UX) design has become one of the most critical pillars of modern product development. Whether you’re building a SaaS platform, a mobile app, or even a website, the way users interact with your product can make or break its success. That’s why mastering the UX design process is essential, not just for designers, but also for product managers, developers, and stakeholders who want to create meaningful digital experiences.
In this comprehensive guide, we’ll explore each stage of the UX lifecycle, from early research to final execution. Along the way, you’ll see how thoughtful design decisions can bridge the gap between user needs and business goals.
Why the UX Design Process Matters
At its core, the UX workflow is a structured approach to designing products that prioritize the user’s perspective. It is not a linear checklist but rather an iterative cycle where insights and feedback continuously shape the outcome.
Think of it as a roadmap: you start with research to understand your users, then move into ideation and design, followed by prototyping and testing, and finally, execution. Importantly, each phase connects to the next, ensuring that the final product is not only functional but also a joy to use.
Stage 1 – UX Research Process: Learn Before You Design
Begin with curiosity. Start by defining research goals: what decisions do you need to make? Then, choose methods that align with those goals.
Generative research (interviews, contextual inquiry, diary studies) helps you discover unmet needs.
Evaluative research (surveys, usability tests, and analytics reviews) enables you to validate existing ideas.
Moreover, recruit intentionally—for example, screen participants for relevant behaviors, not just demographics. Also, use small, focused studies early and broader surveys later. Finally, capture facts and quotes verbatim. Those snippets become your credibility when you advocate for design choices.
Stage 2 - Synthesis: Turn Data into Insight
After you collect data, synthesize it. First, cluster observations using affinity mapping. Next, surface patterns and friction points. Then, convert those patterns into artifacts:
Personas or proto-personas that reflect real motivations.
Journey maps that expose moments of delight and drop-off.
Problem statements framed as user needs and business outcomes.
Consequently, you’ll move from raw notes to prioritized insight. Importantly, frame insights as decisions to be made, not as vague stories. That way, product and engineering can act.
Stage 3 - Ideation & Concepting: Create With Constraints
Now, ideate rapidly. Use timeboxed techniques, such as Crazy Eights or collaborative sketching, to generate multiple solutions quickly. Then apply constraints, business goals, technical feasibility, and accessibility to narrow down the options.
Moreover, pair divergent sessions with convergent moments. First diverge widely, then converge by voting, dot-voting, or impact/effort matrices. In addition, capture low-fidelity sketches and annotated assumptions. Those artifacts make trade-offs explicit and speed up later validation.
Stage 4 - Prototyping: Make Ideas Tangible
Prototypes enable you to fail fast and learn more efficiently. Therefore, pick the right fidelity for the question you’re answering:
Low-fidelity: paper or wireframes for flows and layout.
Mid-fidelity: clickable prototypes for interaction and sequencing.
High-fidelity: pixel-perfect screens for visual polish and developer handoff.
Use prototypes to test core assumptions, not to show off. Also, keep interactions focused: test a single path per session, and avoid overbuilding until you validate the hypothesis.
Stage 5 - Testing & Validation: Learn From Real Users
Test early and often. First, write realistic tasks that map to your user’s goals. Next, conduct moderated or unmoderated sessions, depending on the budget and timing. Then, analyze both qualitative feedback and quantitative signals.
Furthermore, track usability metrics such as task success, time on task, and the System Usability Scale (SUS) when appropriate. Additionally, utilize remote tools for scalability and in-person sessions for richer contextual data. Importantly, synthesize test findings into actionable fixes and prioritize changes that minimize friction for the majority of users.
Stage 6 - Handoff & Implementation: Design Meets Engineering
Handoff becomes smooth when you prepare thoroughly. First, document interaction rules, edge cases, and acceptance criteria. Next, export specs and tokens from your design system. Then, meet with engineers to walk through flows and playback research insights.
Moreover, use component libraries and design tokens to maintain consistency. Additionally, stay involved during implementation to promptly answer questions and test integrated builds. In practice, frequent short check-ins prevent expensive rework later.
Stage 7 - Measure & Iterate: Close the Loop
After launch, continue the UX design project by measuring impact. First, define success metrics tied to business goals, such as conversion, retention, and task completion. Next, use instrument analytics to run funnel analysis and heatmaps and identify where users struggle.
Then, iterate. Use A/B tests to compare variants and prioritize changes that move metrics. Finally, schedule regular check-ins for continuous improvement. Remember: a product that stops evolving loses value quickly.
UX Workflow & Strategy: Align the Design with Product
Practical UX teams blend UX methodology and delivery. Therefore, run short discovery sprints before major builds and align design milestones with product roadmaps. Additionally, embed designers in cross-functional teams to prevent late surprises. Use lightweight artifacts, brief research briefs, hypothesis statements, and decision logs to keep everyone informed.
Moreover, integrate UX into Agile cycles by planning design work ahead of development sprints and reserving capacity for validation and iteration during each sprint. Above all, keep users at the center of every roadmap decision.
Techniques Every UX Designer Should Master
A strong UX workflow relies not just on theory, but on practical techniques that help designers make better decisions. While tools and trends evolve, some methods remain timeless because they consistently uncover valuable insights, mitigate risks, and enhance usability. Mastering these techniques will not only give you confidence but also credibility as a UX professional.
1. Heuristic Evaluation
A heuristic evaluation is a structured review of a product against established usability principles, such as Nielsen’s heuristics. For example, you’ll check whether users receive feedback after actions, if navigation feels consistent, and whether errors are easy to recover from.
When to Use: Early in the design phase or when reviewing an existing product.
Why it Matters: It’s quick, inexpensive, and highlights obvious usability flaws before you even involve users.
Pro Tip: Pair heuristic reviews with user testing for a more holistic view.
2. Accessibility Checks
Accessibility isn’t optional; it’s essential. These checks ensure that people of all abilities can use your product. UX design techniques include testing color contrast ratios, ensuring keyboard accessibility, and verifying that screen readers accurately interpret your content.
When to Use: At every design and build stage, not just as a final audit.
Why it Matters: Accessible products expand your audience, reduce legal risks, and create inclusive experiences.
Pro Tip: Use tools like WAVE or axe DevTools, but also run manual checks with screen readers to catch issues automation might miss.
3. Microcopy Testing
Words are part of design. Microcopy: the labels, error messages, and prompts that guide users often make the difference between clarity and confusion. Testing microcopy helps you confirm whether users understand instructions, error states, or button labels without hesitation.
When to Use: During wireframing, prototyping, and just before launch.
Why it Matters: Well-crafted microcopy reduces cognitive load, lowers support tickets, and improves task completion.
Pro Tip: Test microcopy by giving users simple tasks like “find where you’d reset your password” and see if the wording helps or hinders them.
Practical Tips for Teams and Individuals
A successful UX strategy starts small: run a five-user usability test for early prototypes to surface glaring issues. Next, keep artifacts lightweight and searchable. Then, practice storytelling when sharing research, use vivid quotes and clear visuals to make findings stick. Also, invest time in learning tools that let you prototype and iterate quickly. Finally, seek feedback from cross-disciplinary peers; diverse perspectives often reveal blind spots.
Conclusion
To summarize, the UX design process moves from research to synthesis, through ideation, prototyping, testing, handoff, and iteration. Each stage informs the next, and each loop reduces risk. Therefore, adopt this cycle as your default: prioritize learning, document evidence, and iterate intentionally.
If you’re an aspiring designer, start by running one user interview this week. If you’re a product team, schedule a 1-day discovery sprint before the next big feature. Either way, keep the process human-centered and evidence-driven. Over time, you’ll build products that not only work but also delight.
Enhance your visual storytelling with 4D Anamorphic Design to create immersive, high-impact user experiences that stand out.